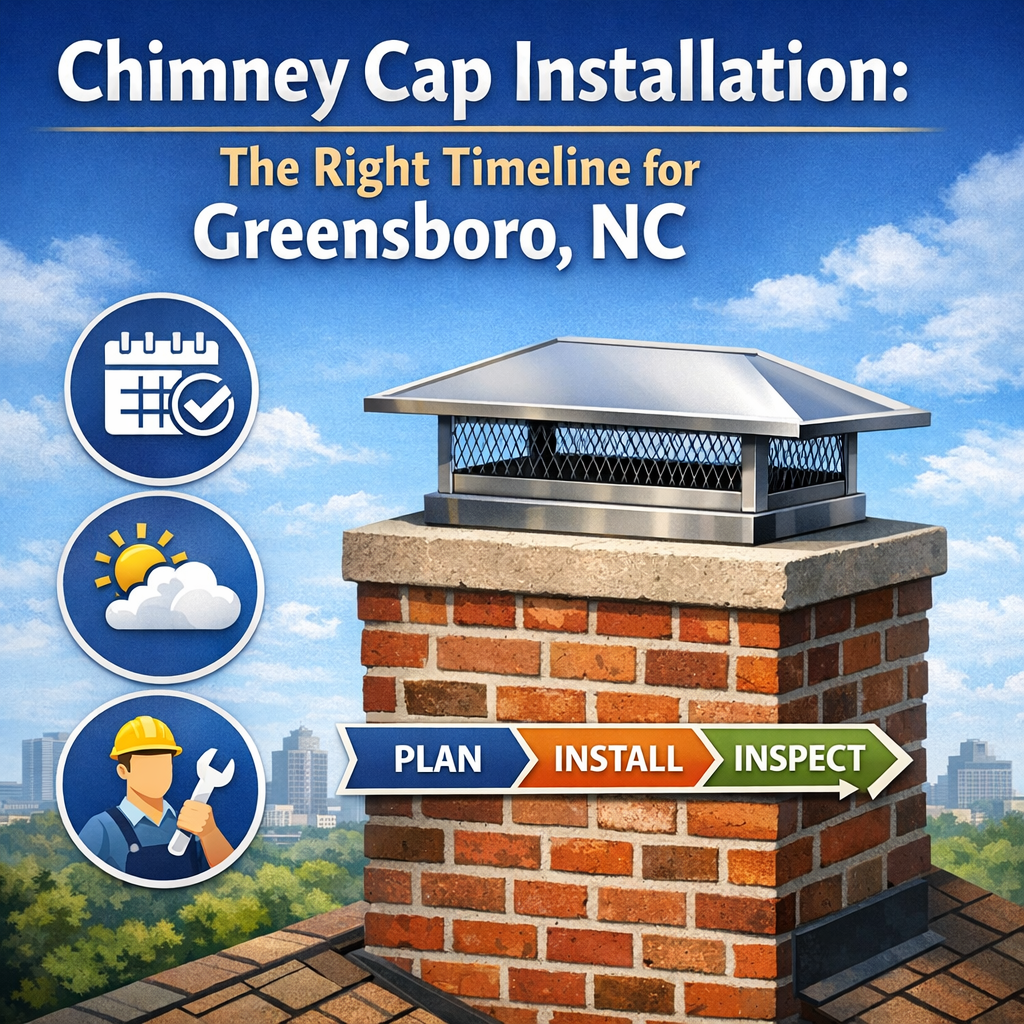
If you’ve been told your chimney needs a cap, you’ve probably already run into the standard explanation: caps keep out rain, animals, and debris. That’s true. But it’s also about as far as most contractors take it — and for homeowners in Greensboro and across the NC Triad, that surface-level answer leaves out some genuinely important details.
The climate here in the Piedmont Triad puts specific demands on chimney systems that simply don’t apply the same way in other parts of the country. Freeze-thaw cycles, summer humidity, ice storms, and local wildlife species all factor into which cap you need, how it should be installed, and — critically — what needs to happen before anyone bolts anything to your chimney crown. There’s also a legal consideration involving a protected bird species common to this region that most installers never mention.
This guide covers all of it. Our goal is to give you the kind of honest, thorough information that helps you make a good decision for your home — whether that means calling us or simply walking into any conversation with a contractor better informed.
A chimney cap is a metal cover fitted over the top of your chimney flue to protect the opening. Most homeowners understand the obvious functions, but it’s worth laying out the full picture because each role has real consequences when the cap is absent, undersized, or poorly installed.
Moisture exclusion is the primary function. Rain falling directly into an open flue saturates the liner, mortar joints, and damper assembly. Over time, that moisture migrates through the masonry and causes interior water damage — stained ceilings, deteriorating firebox walls, and rusted damper components. In Greensboro’s climate, where annual rainfall averages around 45 inches, an uncapped chimney is a slow water intrusion problem waiting to become an expensive one.
Animal and debris exclusion comes next. An open flue is essentially an invitation. Leaves, twigs, and windblown debris accumulate at the damper and create both a fire hazard and a restriction to airflow. Animals — we’ll address the specific species in this region shortly, because one of them carries legal complications — nest in chimneys and can block the flue entirely.
Draft performance is the function that surprises most homeowners. A properly designed chimney cap actually helps maintain consistent draw by reducing downdraft — the condition where wind pushes back down the flue instead of letting combustion gases escape. Greensboro’s topography and the density of neighboring structures in established neighborhoods like Irving Park, Latham Park, and Fisher Park create localized wind patterns that can make downdraft a recurring nuisance. Cap design directly affects whether your fireplace drafts cleanly or smokes into the room.
Ember containment is the safety function. A cap with appropriate mesh screening catches burning embers before they exit the flue and land on the roof or surrounding landscaping — a meaningful consideration during dry fall and winter conditions.
Here’s where most chimney cap articles — and many installers — go wrong. They talk about “birds and animals” as a generic category, recommend mesh screening, and move on. In the Piedmont Triad, that’s not sufficient advice.
Chimney swifts (Chaetura pelagica) are small, fast-flying migratory birds that are extraordinarily common throughout Greensboro and the broader Triad region. They breed here from approximately April through October, and they have a strong preference for nesting inside masonry chimneys.
Here’s the part that matters for anyone planning cap installation: chimney swifts are protected under the Federal Migratory Bird Treaty Act of 1918. It is a federal offense to disturb an active nest, destroy eggs, or harm nesting birds — and installing a chimney cap over an active swift nest falls squarely within that prohibition. Violations can result in federal fines.
The practical implication: if you discover swifts in your chimney during nesting season, you legally cannot cap that flue until the birds have completed their nesting cycle and migrated. Any contractor who tells you otherwise either doesn’t know the law or isn’t being straight with you.
A reputable Greensboro chimney cap installer should always assess the nesting calendar before scheduling installation. For most local homeowners, the safest installation window is November through March — after swifts have migrated south and before their return the following spring.
There’s a secondary reason this matters beyond legal compliance: attempting to cap over an active nest can result in trapped birds dying inside the flue. Decomposing organic material in a chimney creates genuine air quality hazards inside the home. This is not a theoretical risk. It happens, and it’s entirely preventable with proper timing.
European starlings are the other common Triad nuisance species, and they require a different solution. Starlings are larger than chimney swifts but small enough to enter a flue through coarse mesh openings. Standard 1/2-inch mesh — sometimes used in lower-grade caps — allows starlings through. 3/4-inch mesh is too coarse. Standard 5/8-inch mesh is borderline. The industry-accepted standard for excluding starlings while maintaining airflow is 1/2-inch by 1-inch welded wire mesh or finer, properly tensioned and secured.
We’ll address mesh sizing in more technical detail in the next section, because it affects draft performance as much as animal exclusion.
The mesh screen on your chimney cap is not just a barrier. It’s a ventilation component, and the engineering tradeoff between exclusion and airflow is something most homeowners — and too many installers — overlook entirely.
Industry standards and NFPA 211 guidance establish that a chimney cap’s net free area — the actual open space through which combustion gases can pass — should be sufficient relative to the cross-sectional area of the flue it serves. A commonly cited benchmark is a minimum 3:1 ratio of open screen area to flue area, with many professionals recommending 4:1 or higher for reliable draft performance.
When the mesh is too fine or the cap housing is undersized, resistance increases at the flue exit. That resistance does several things:
This last point is worth emphasizing for Triad homeowners. Greensboro sees ice storms most winters. A cap with fine mesh or poor design can ice over completely, and a homeowner who lights a fire without realizing the cap is blocked faces a serious carbon monoxide risk.
Here’s the tension: the mesh needs to be fine enough to exclude starlings (which rules out anything coarser than roughly 1/2-inch openings) but not so fine that it chokes airflow or ices over in cold weather. The practical answer is a correctly sized cap housing — large enough that even with appropriate mesh, the total net free area meets or exceeds the recommended ratio for your specific flue dimensions.
This is why cap sizing is not simply a matter of measuring the flue opening. A cap that fits the flue but doesn’t provide adequate net free area is undersized for practical purposes, regardless of whether it physically covers the opening.
This distinction matters more than most homeowners realize, and it’s almost universally ignored in competitor content.
If your home was built after roughly 1975 and has a factory-built (zero-clearance) fireplace rather than a traditional masonry fireplace, your chimney system is different in an important way. Factory-built fireplaces use a prefabricated metal chase — a rectangular or square wood-framed enclosure surrounding the flue pipe — rather than a brick masonry chimney.
A chimney cap fits over the flue opening on a masonry chimney. A chase cover is a flat or slightly pitched metal panel that fits over the entire top of a prefabricated chase enclosure.
These are not interchangeable products. A traditional chimney cap installed on a factory-built chase provides only partial protection; the gaps around the flue pipe within the chase remain open to water intrusion, debris accumulation, and animal entry. Homes in this situation need a properly fitted chase cover — ideally fabricated from stainless steel or galvanized steel with hemmed edges to shed water away from the chase walls. For a deeper look at how this decision plays out in practice, our guide to chimney chase cover replacement covers the full scope of what’s involved.
Greensboro’s post-1975 housing stock — which includes substantial development across areas like Summerfield, Stokesdale, and much of western Guilford County — has a high proportion of factory-built fireplace systems. If your home falls in this category and you’ve been quoted a standard chimney cap without any conversation about chase cover dimensions, it’s worth asking your contractor to clarify exactly what they’re recommending and why.
The standard answer to “what material should my chimney cap be?” is “stainless steel or copper.” That’s not wrong, but it leaves out the details that determine how long your cap actually lasts in this specific climate.
Galvanized steel caps are the low-cost option. They’re zinc-coated mild steel, and that zinc coating does provide corrosion resistance — for a while. The problem is that Greensboro’s climate is particularly hard on galvanized metal. The Piedmont Triad experiences:
In this environment, a galvanized steel cap typically shows surface rust within a few years and structural corrosion within a decade. Once the zinc coating wears through at welds, the underlying steel rusts quickly. For a component that requires ladder access to inspect and replace, that’s a poor value proposition regardless of the initial savings.
Type 304 stainless steel is the industry standard for quality chimney caps, and it performs well in the Triad’s climate. However, not all stainless steel caps are equivalent. The gauge (thickness) of the steel significantly affects durability, particularly at welds, seams, and the mesh attachment points where mechanical stress is highest.
When a contractor or product listing says “lifetime warranty on stainless steel,” the relevant question is what gauge steel backs that warranty. A lifetime warranty on 24-gauge material is a different promise than the same warranty on 20-gauge material, and the difference shows up over time.
Copper chimney caps offer excellent corrosion resistance and a distinctive appearance that suits certain architectural styles — particularly on older Greensboro homes with traditional masonry chimneys in neighborhoods like Sunset Hills, Country Club, and Starmount Forest. Copper develops a protective patina over time that actually improves its weather resistance.
The practical considerations: copper is a premium material, and it requires copper or stainless fasteners (never galvanized) to prevent galvanic corrosion at contact points. It’s the right choice for the right home, but it isn’t automatically “better” than high-gauge stainless for every application.
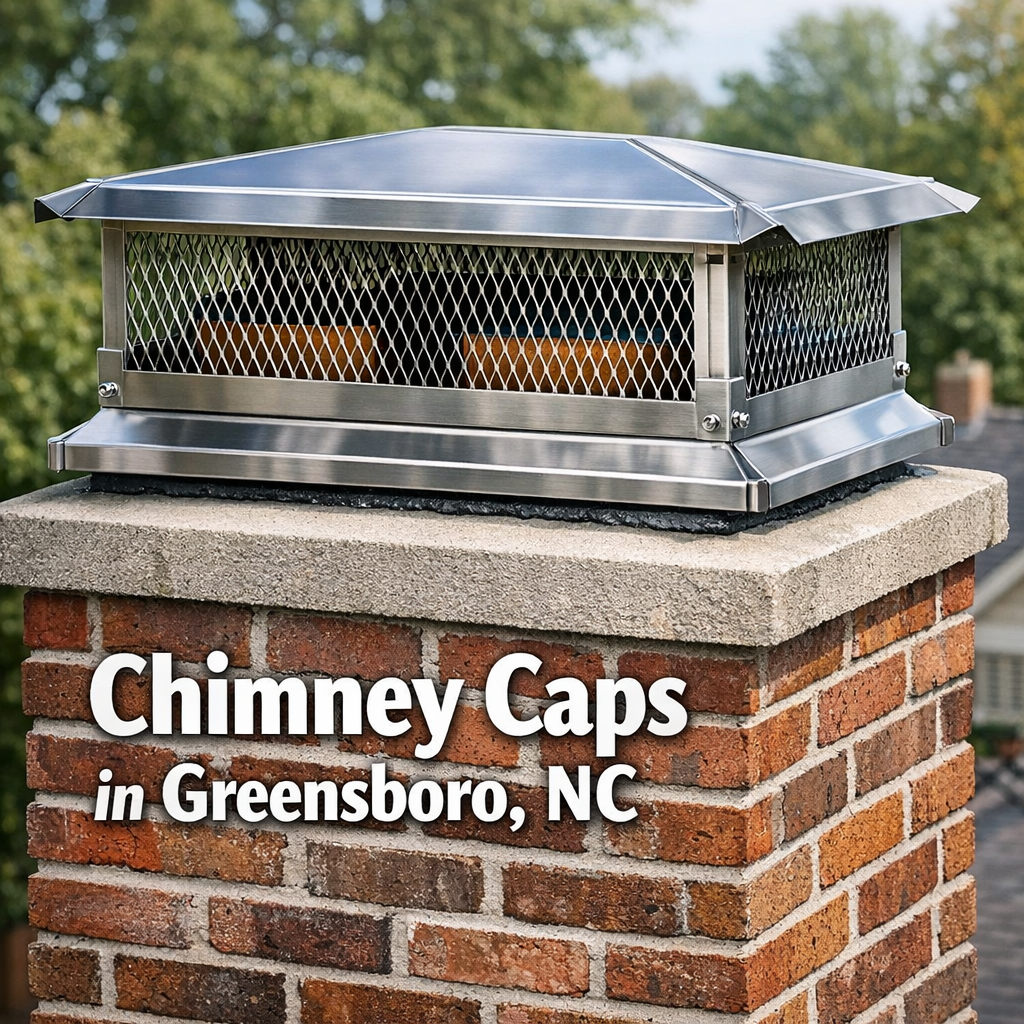
A single-flue cap fits directly over one flue tile, either by sliding inside the flue (inside-mount) or sitting over the outside of the flue tile (outside-mount). Outside-mount caps are generally preferred for older masonry chimneys because they distribute weight across the crown rather than stressing the flue tile edges, and they’re easier to remove for inspection without disturbing mortar.
Homes with multiple fireplaces, or with both a fireplace flue and a furnace/water heater flue, often have multiple flues exiting the same chimney. A multi-flue cap covers all of them under a single structure, which is often cleaner architecturally and more economical than multiple individual caps. The sizing requirement becomes more complex — the cap housing must provide adequate net free area for each flue it covers simultaneously.
This distinction matters particularly for older homes with terra cotta flue tile liners. Many of Greensboro’s historic neighborhoods have chimneys with tile liners that have experienced some degree of cracking or settling over decades. An inside-mount cap exerts lateral pressure on the flue tile when installed; on a tile with existing cracks, that pressure can worsen the damage. In these situations, an outside-mount cap seated on the crown is the appropriate choice — but it also means the crown condition must be evaluated, because the cap will sit directly on it.
This is possibly the single most important piece of information in this entire guide, and it’s absent from every competitor’s content we’ve reviewed.
Installing a chimney cap over a compromised chimney crown is one of the most common mistakes in chimney work — and it’s a mistake that creates a false sense of security while the underlying problem continues.
The chimney crown is the concrete or mortar slab that covers the top of the chimney structure, with an opening for the flue tile(s). It’s engineered to slope water away from the flue and protect the top course of masonry from direct rain exposure.
Greensboro and the broader Piedmont Triad region experience approximately 30 to 40 freeze-thaw cycles per year, according to NOAA climate data for the region. That means liquid water has roughly 30 to 40 annual opportunities to infiltrate a crack, freeze, expand, and widen that crack.
A chimney crown with existing cracks — even hairline cracks — allows water to reach the mortar joints around the flue tile. When that water freezes, it expands at approximately 9% volume increase, prying mortar joints apart. Over several seasons, this process causes visible spalling at the top courses of masonry and can eventually compromise the structural integrity of the upper chimney section.
Here’s why a new cap doesn’t solve this problem: A chimney cap sits on top of the crown. If the crown is already cracked, water that bypasses or pools around the cap base continues to infiltrate the crown. The cap reduces the volume of direct rainfall entering the flue but does nothing to stop moisture from infiltrating through crown cracks at the cap’s perimeter.
The correct sequence is:
A cap installed over a cracked crown doesn’t protect your chimney — it just makes it harder to see the damage continuing underneath. If you’re already dealing with water intrusion at the roofline, our article on chimney flashing repair and why leaks keep coming back covers the related failure points that often go unaddressed alongside crown damage.
The type of flue liner in your chimney affects which cap mounting approach is appropriate — another technical detail that competitors consistently overlook.
| Liner Type | Common In | Cap Mounting Implication |
|---|---|---|
| Terra cotta tile | Pre-1980s masonry chimneys; also newer masonry | Outside-mount preferred on older tile with wear; inside-mount acceptable on sound, newer tile |
| Stainless steel flexible liner | Relining projects; gas appliances | Requires a termination cap specific to the liner diameter, not a standard masonry cap |
| Cast-in-place liner | Older chimneys that have been professionally relined | Treated similarly to tile liner for cap purposes; outside-mount generally preferred |
| Prefabricated metal flue (factory-built) | Post-1975 zero-clearance fireplace systems | Requires a chase cover over the full chase opening, plus a cap on the flue pipe termination |
If your chimney was relined with a flexible stainless steel liner — a common upgrade for older Greensboro homes converting from wood-burning to gas inserts — the liner extends through the existing masonry and terminates at the top. That termination needs its own properly sized cap matched to the liner diameter, not a cap sized to the original flue tile opening. Installing the wrong cap type here either leaves gaps or restricts the liner’s draft performance.
Understanding the steps of a correct installation helps you evaluate any contractor’s proposal, not just ours.
A thorough installation starts before any hardware is ordered:
The Chimney Safety Institute of America recommends a Level 1 inspection any time a component is installed or replaced on a chimney system. This inspection confirms the cap is correctly installed, the flue is clear, and no installation-related disturbance has created new issues inside the system. It’s a standard step that most homeowners aren’t told about — and one that any reputable installer should be willing to discuss.
Not every chimney draft problem is caused by a structural issue. In Greensboro’s established neighborhoods — particularly those with mature tree canopy and closely spaced homes — architectural downdraft is a common and frequently misdiagnosed complaint.
Downdraft occurs when prevailing winds, neighboring rooflines, or large trees create pressure differentials that push air down the flue rather than allowing combustion gases to draw upward. The result is smoke entering the room when the fireplace is in use, or cold-air infiltration through the firebox when it’s not.
Standard flat-top caps offer minimal downdraft resistance. For chimneys with documented downdraft issues, wind-directional caps (which rotate to face downwind) or anti-downdraft caps with engineered deflectors provide a meaningful performance improvement. The NFPA 211 standards acknowledge draft performance as a design consideration in chimney cap selection — not just animal and weather exclusion.
If you’ve experienced consistent smoke issues and have been told the problem requires expensive internal flue work, it’s worth confirming whether the cap design and positioning have been properly evaluated first. It’s a simpler solution when it applies.
A chimney cap doesn’t exist in isolation. It’s one component in a system that includes the crown, the flue liner, the masonry body, the flashing at the roofline, and in the case of a prefabricated system, the entire chase enclosure. Addressing the cap without evaluating the connected components is like replacing a window lock without checking the frame it attaches to.
At Smithrock Roofing, we approach chimney cap work as part of a complete exterior evaluation. With 60-plus combined years of experience serving Greensboro, Winston-Salem, High Point, Kernersville, and the surrounding Triad communities, we’ve seen what happens when caps are installed without crown inspection, when chase covers are omitted from prefabricated fireplace systems, and when material selection doesn’t account for how the Piedmont Triad’s climate actually behaves over time.
Our work is backed by an A+ BBB rating, 312-plus five-star reviews, and the kind of honest, no-pressure service approach that comes from working in the same communities where our team lives. We’re fully licensed and insured, and we don’t consider a job complete until the work is right and the homeowner understands what was done and why.
If your chimney needs a cap — or if you’re not sure whether what you have is still doing its job — the right starting point is a proper inspection, not a measurement for a part. That’s true whether you call us or anyone else.
For additional reference on chimney safety standards, the National Fire Protection Association’s NFPA 211 standard governs chimney cap installation and performance requirements and is worth knowing about as a homeowner.
If you’re planning chimney cap work or a broader chimney evaluation in the coming year, here are three concrete steps worth prioritizing:
1. Schedule a Full Chimney Inspection Before Winter Sets In
The best time to identify cap damage, crown deterioration, or flashing issues is before the heating season begins — not after the first heavy rain or freeze cycle reveals a problem inside your home. A proper inspection gives you a clear picture of what’s working, what isn’t, and what order of priority makes sense for any repairs.
2. Evaluate Your Chase Cover If You Have a Prefabricated Fireplace System
Many Greensboro-area homes built in the last few decades have metal-framed chase systems rather than traditional masonry chimneys. If yours doesn’t have a properly fitted stainless steel chase cover — or if the cover is galvanized and showing rust — that gap in protection is likely causing interior damage right now, even if you haven’t noticed it yet. Make this part of your 2026 assessment.
3. Pair Cap Work With a Roof and Flashing Review
The intersection of your chimney and roofline is one of the most failure-prone areas on any home. If you’re already having a contractor on the roof to assess or replace a cap, use that visit to evaluate the flashing, the surrounding shingles, and the overall crown condition. Addressing these together prevents a second service call six months later.
The condition of your existing cap determines which direction makes sense. Minor issues — like a slightly loose mounting or a small section of damaged mesh — may be repairable. But if the cap is severely rusted, structurally deformed, or made from a low-grade material that has corroded through, replacement is typically the more practical choice. A proper inspection will tell you which situation you’re dealing with rather than leaving you guessing.
Cap sizing depends on your flue dimensions and whether you have a masonry chimney or a prefabricated chase system. Masonry flues require a cap sized to fit the specific flue tile dimensions, while prefabricated systems need a chase cover matched to the full chase opening. Using the wrong size — even slightly — can compromise the cap’s ability to seal out weather and debris. Measurement should happen during an inspection, not as an assumption.
For most homeowners in the Piedmont Triad, yes. Galvanized caps are less expensive upfront, but they’re significantly more prone to rust in the region’s humidity and temperature cycles. Stainless steel caps hold up far better over time and don’t need to be replaced nearly as often. Copper is another durable option, though it’s typically chosen for aesthetic reasons. The material you choose affects how long the cap performs, not just how it looks when installed.
In some cases, yes. Certain cap designs incorporate wind-directional features that help reduce downdraft by redirecting airflow across the flue opening rather than allowing it to push directly down. However, downdrafting can also result from negative air pressure inside the home, an undersized flue, or structural issues unrelated to the cap. If downdrafting is a consistent problem, the cap is worth evaluating first — but a broader inspection may be needed to identify all contributing factors.
When it comes to chimney cap installation, replacement, or evaluation in Greensboro and High Point, the details matter — the right material, the right fit, and an honest assessment of what the cap connects to. Smithrock Roofing proudly serving Winston-Salem, Greensboro, High Point, Kernersville, and the surrounding Triad has the experience and local knowledge to get that right the first time. If you’re ready to find out where your chimney system stands, Contact Smithrock Roofing and let’s start with a proper look.
Smithrock Roofing © Copyright 2026 • All Rights Reserved • Privacy Policy • Maintained by Mongoose Digital Marketing