
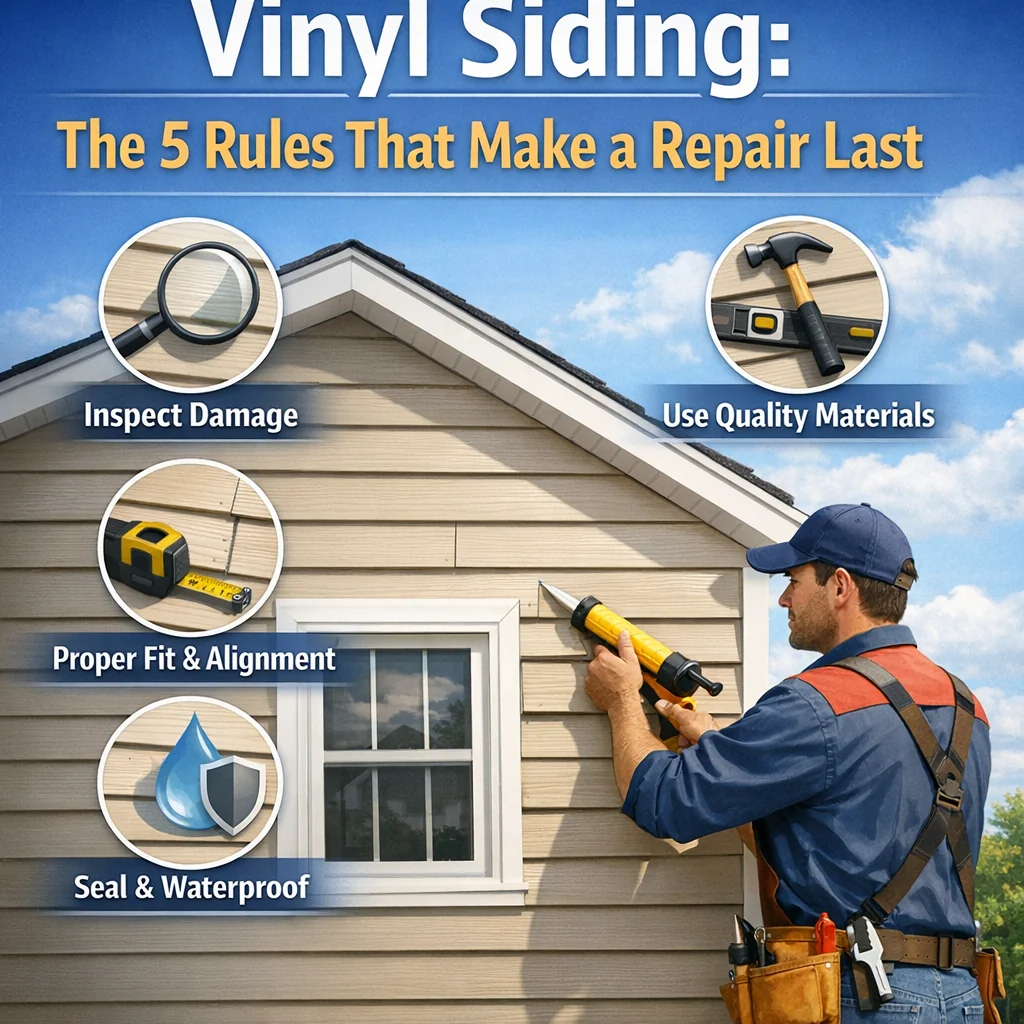
A panel on the side of your house is cracked, warped, or blown loose. It looks like a straightforward swap. And for a single panel in good condition, in moderate weather, it genuinely can be. But changing vinyl siding the right way means understanding a few physical realities that most repair guides skip past. Get those right and the repair holds for years. Miss them and you can turn a one-panel fix into a multi-panel problem before lunch.
This guide walks through how vinyl siding actually works, where the common failure points are, and what separates a repair that lasts from one that fails quietly behind the wall.
Vinyl siding is a floating system. Each panel hooks into the one below it through a folded lower edge called the buttlock, and the upper edge of every panel is held loosely to the wall through slotted nailing holes. That word “loosely” is intentional. The nails are never driven flush. A gap roughly the thickness of a dime sits between the nail head and the panel surface so the vinyl can slide left and right as temperatures change throughout the year.
That sliding capacity is the whole system. Remove it through overtight nailing, incompatible panel geometry, or forced re-engagement at the wrong temperature, and the panel has nowhere to go when it expands. The result is buckling, gaps, or panels that eventually pop free from the wall.
Here is a connection that matters practically and that most repair guides leave unconnected. Fine Homebuilding and similar sources correctly note that on days below roughly 40°F, installers should leave a larger expansion gap, about ⅜ inch at each channel instead of the standard ¼ inch. The reason is that cold vinyl contracts and sits at a smaller dimension than it will once temperatures rise.
That same thermal physics applies directly to removal. Below 40°F, the buttlock is under tension from contraction, and the panel walls are stiffer and more brittle than they are in mild weather. Applying standard zip-tool force to a 20-year-old panel on a 35°F morning creates the highest-risk removal scenario: aged, UV-weakened vinyl under cold tension, being pried open with a metal tool.
The consequence is not just that the damaged panel might crack further. The adjacent panels above and to the sides, the ones you are not replacing, are the ones most likely to develop hairline fractures from the stress transferred through the locking system. That is how a single-panel repair becomes a three- or four-panel repair. If temperatures are below 40°F, the safest approach is to warm the panels gently with a heat gun on its lowest setting, move the zip tool slowly and in short increments, and plan for more time than the job seems to require.
Need a hand with this in Winston-Salem, Greensboro and the Triad? Call (336) 971-0464 or request a free estimate. Honest answers, no pressure.
The advice to “match your existing panels” sounds simple. It is actually two distinct compatibility checks that are easy to conflate. If you want to explore the full range of available options before sourcing a replacement, our vinyl siding options guide covers styles, colors, and profile types in detail.
Profile match is what you can see from the street. Dutch lap, clapboard, and beaded clapboard are common profiles in this region’s housing stock. A replacement panel needs to match the exposed face geometry so the repair blends visually.
Lock geometry match is what you cannot see once the panel is installed. The buttlock, the folded lower channel that snaps into the female receiver of the panel below, has a specific depth. Two panels can share the same face profile and still have buttlocks of different depths. If the lock geometry does not match, the new panel will appear to seat correctly but will not fully travel into the receiver. That partial engagement is the leading cause of panels that rattle in wind, allow water infiltration at the joint, and eventually lift free during a storm.
The field test: after seating the new panel, grip it at the center and slide it firmly left and right. A fully engaged panel moves freely within the nailing slot range and does not shift vertically. A panel that rocks or allows any up-and-down movement at the lock is not fully seated.
| Nailing Interval | Constraint Points on a 12-ft Panel | Thermal Slide Freedom | Best Application |
|---|---|---|---|
| 12 inches | Up to 12 per panel | Reduced | Shorter panels, high-wind exposure zones |
| 16 inches | Up to 9 per panel | Greater | Standard residential runs, typical panel lengths |
Most guides give a range of 12 to 16 inches between nails without explaining when to use which end of that range. The decision is a trade-off between stability and freedom of movement. More nails per panel means more constraint points, which adds resistance to wind uplift but also adds resistance to thermal sliding. In areas with significant wind exposure, 12-inch spacing adds useful mechanical resistance. On a standard sheltered wall run, 16-inch spacing gives the panel more room to move through seasonal temperature swings without stress accumulating at each nail point.
In every case, nail in the center of the slot, not at either end. A nail at the edge of the slot blocks thermal movement in one direction entirely, which is mechanically the same as nailing too tight on that side of the panel.
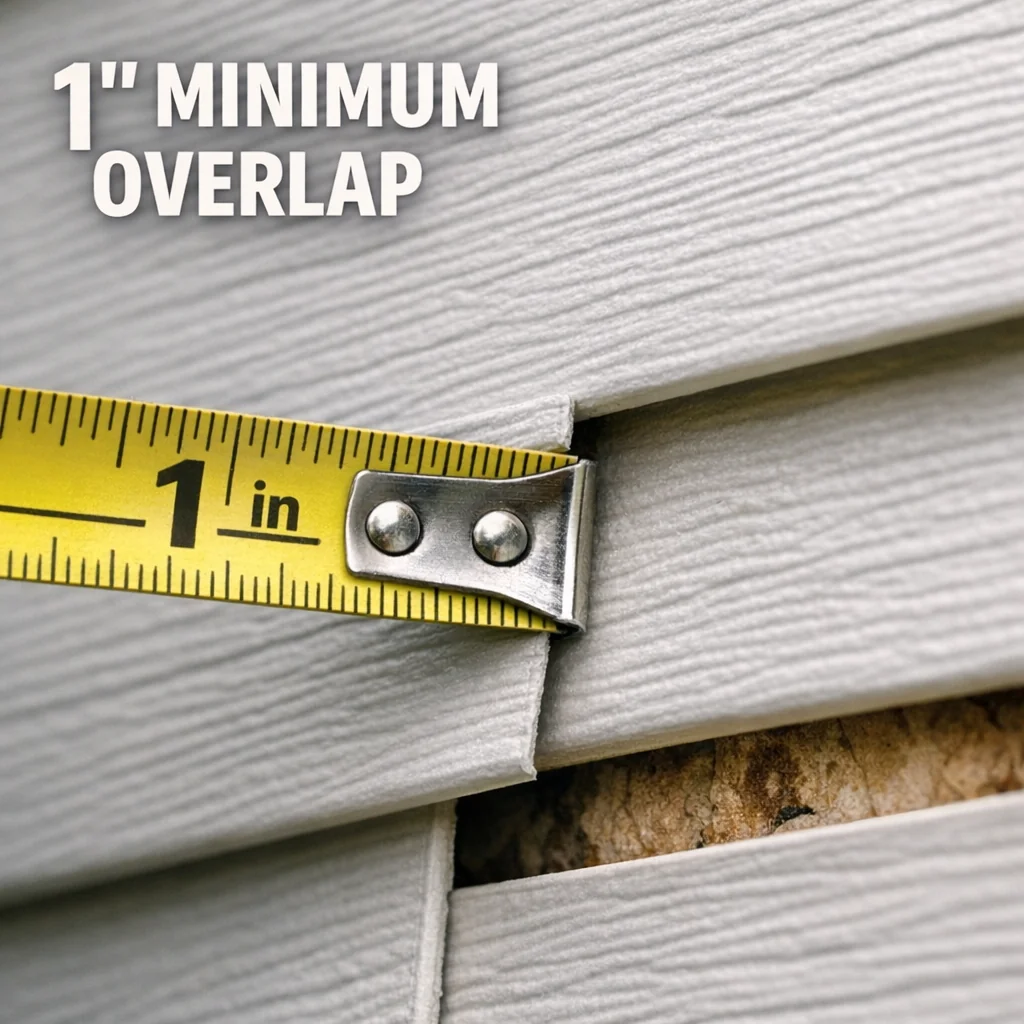
When changing vinyl siding along only part of a run, the new panel’s cut end overlaps the existing panel by at least 1 inch. That minimum exists because of capillary action. Water under wind pressure can travel horizontally along a surface and be drawn into narrow gaps between panels regardless of whether gravity would carry it that direction. A shorter overlap brings the cut end close enough to the nail slot setback area that capillary-driven water can reach behind the panel at the joint.
Measure the overlap from the active lock point, not from the raw cut edge of the panel. If the cut falls within the setback zone near the nailing slot, the nominal inch of overlap is not providing the protection the measurement implies.
Before the replacement panel goes up, examine the housewrap and sheathing that were behind the damaged one. A cracked or impact-damaged panel is frequently the last visible sign of a water intrusion problem that has already been working on the substrate for months. Soft spots in the sheathing, discoloration on the housewrap, or any smell of mildew are signals that the repair scope is larger than a panel swap.
Replacing siding over a compromised substrate traps existing moisture and accelerates the decay of the wall assembly behind the new panel. The visible repair looks complete while the underlying damage continues. At Smithrock Roofing, our technicians inspect the substrate as a standard step on every siding repair and installation, not an afterthought. It is one of the reasons our work holds up and our customers do not find themselves dealing with the same problem twice.
If the damage behind the panel is limited, allow the area to dry completely before installing the replacement. If the sheathing is soft, that material needs to be addressed before anything goes over it.
Changing one vinyl siding panel is a reasonable DIY task when the damage is truly isolated, the panel profile is readily available, temperatures are above 40°F, and the substrate behind the panel is sound. Outside of those conditions, the risk of collateral damage or an incomplete repair rises quickly.
Full wall replacements, repairs on older or heavily weathered siding, any situation involving substrate damage, and any installation that requires extensive color or profile matching across a large area are jobs where professional installation consistently outperforms DIY attempts. The tools are straightforward; the judgment calls are where experience matters.
Smithrock Roofing has served homeowners across Winston-Salem, Greensboro, High Point, Kernersville, Clemmons, Rural Hall, King, and Mount Airy with more than 60 combined years of exterior contracting experience. If you are looking at a panel that has failed and wondering what else might be going on behind it, we are glad to take a look and give you an honest assessment.
Yes, a single-panel replacement is entirely possible when the damage is contained to that panel, the substrate behind it is dry and structurally sound, and you can find a matching profile and color. The challenge is that older siding often has some degree of fade, so a new panel may stand out visually even when the profile is an exact match. If the damage spans multiple panels or the wall section shows signs of moisture intrusion, a broader repair scope is the more reliable path.
Press gently against the siding in the area around the damaged panel. If you feel softness or flex where the wall should feel firm, that is a sign the sheathing underneath may have been compromised. Other indicators include visible discoloration on the housewrap when the panel is removed, a musty or mildew odor, or paint peeling on interior walls near the same location. Any of those signs mean the repair involves more than the panel itself.
Mild weather between roughly 50°F and 85°F gives you the most workable conditions. Vinyl becomes brittle in cold temperatures, which increases the risk of cracking during removal and installation. In extreme heat, panels can be difficult to align correctly because the material expands. Spring and early fall tend to offer the most consistent conditions for exterior repair work in the Piedmont Triad region.
Color variation after a panel replacement is common and is caused by UV exposure gradually lightening the existing panels over the years. A new panel installed alongside weathered siding will almost always appear slightly brighter or more saturated, even when the manufacturer and color code are identical. The difference typically becomes less pronounced over one to two seasons as the new panel weathers to a closer match. If appearance uniformity is important, replacing a broader section or an entire wall elevation produces a more consistent result.
Vinyl siding repairs look straightforward on the surface, but the difference between a fix that holds for decades and one that masks a larger problem almost always comes down to what gets checked before the new panel goes up. Smithrock Roofing brings more than 60 combined years of exterior contracting experience to homeowners in Winston-Salem, Greensboro, and the surrounding communities, and that experience shows in repairs that address the whole picture, not just the visible damage. If you have a panel that has failed and want an honest assessment of what is behind it, call us at (336) 971-0464 or Contact Smithrock Roofing to schedule a free estimate.

Smithrock Roofing © Copyright 2026 • All Rights Reserved • Privacy Policy • Maintained by Mongoose Digital Marketing
