
Rotted fascia board repair means removing decayed wood, identifying and correcting the water source that caused the rot, and installing new material that is properly sealed and supported. This article walks through how to accurately assess the damage, where the standard DIY approach commonly falls short, and what signals indicate a repair has moved beyond a weekend project.
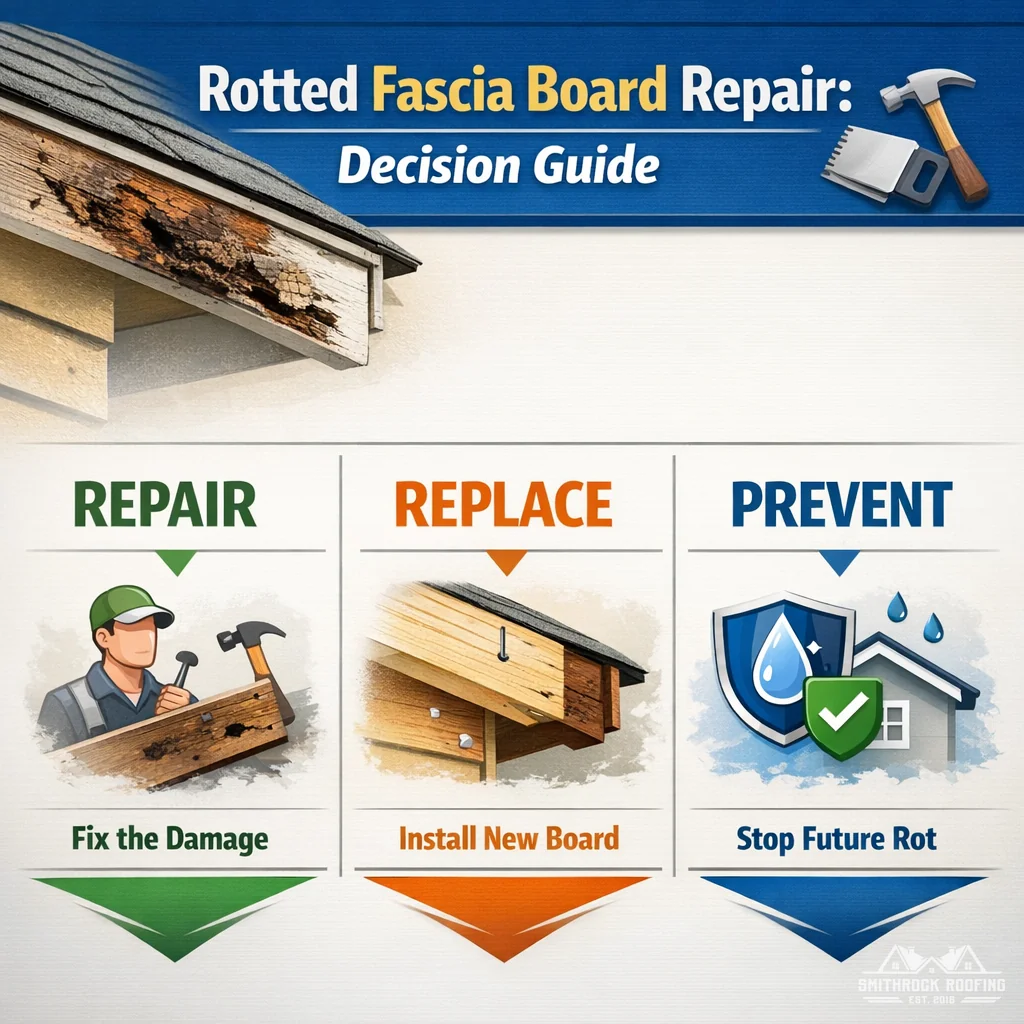
Illustration, not a photograph of a completed client project.
Fascia boards close off the exposed edge of your roof’s eave. They keep air, pests, and water from moving freely into the roofline gap, and they provide the mounting surface for your gutter system. That second function matters more than most homeowners realize: the full weight of a gutter loaded with water and debris bears directly against the fascia. A board that looks borderline from the driveway may already be too compromised to hold that load safely.
Rot is not just a cosmetic issue at the fascia. Once fungal decay establishes itself in a board, it spreads through the wood’s cellular structure in ways that are not visible to the eye. The surface boundary of dark, soft wood is not the boundary of active decay. This is the biological reason behind the six-to-twelve-inch cut margin that experienced carpenters follow, and it is the part that most repair guides state without explaining. (Source: mygutterdoctor.com/fascia-board-repair)
Have a question about rotted fascia board repair? Send a message with the situation you are working through and the decision you need help with. Ask for a written explanation of possible next steps.
Not every dark or stained fascia board is rotted. Gutter overflow and shingle runoff can stain wood without breaking it down structurally. The distinction matters because the repair approaches are completely different.
To confirm rot, probe the board with an awl or a stiff screwdriver. Sound wood resists firm pressure. Rotted wood will yield, compress, or crumble. A probe that sinks more than roughly a quarter inch with moderate hand pressure at any point along the board indicates active structural decay at that location. Surface paint can mask rot underneath, so probe in multiple spots across the full length and width of the board, not just the obviously dark areas. (Source: thehonestcarpenter.com)
This step is not optional. The most common reasons fascia boards rot are damaged or missing drip edge, deteriorated shingles at the roof’s lowest course, and gutters that are clogged, pitched incorrectly, or pulling away from the board. Replacing a fascia board without correcting whichever of these caused the original damage guarantees the new board fails the same way. If water is also finding its way into the roofline, our roofing service covers the full scope of inspection and repair needed to address the source.
There is a sequencing trap buried here that most repair guides miss entirely. After describing drip edge as a preventive measure, guides then describe rehanging the original gutter onto the new board as a final step, without addressing whether the gutter’s pitch or hanger placement contributed to the rot pattern. A gutter that sags in the middle or sits too far forward from the drip edge will pool water against the fascia even when it is perfectly clean. The water contact that caused the original rot continues, starting day one on the new board.
Before any gutter goes back up, confirm three things:
(Source: thehonestcarpenter.com)
Wood filler, including wood putty and epoxy-based fillers, serves a legitimate purpose in fascia repair, but only in a specific and limited situation. These materials are surface cosmetics. They can fill voids, smooth irregular surfaces, and accept paint. They do not restore compressive or shear strength to degraded wood fiber. (Source: mygutterdoctor.com/fascia-board-repair)
The decision rule is straightforward: if the probe test shows the board’s core is sound and rot is confined to the surface layer, filler is appropriate before priming and painting. If the probe penetrates the board at all along a load-bearing section, filler is not the right repair regardless of how the surface looks when it dries.
When rot is localized, cutting out the damaged section and splicing in new material is a viable repair. The cuts must be made at rafter centers so the new piece can fasten properly at both ends. The cut margin should be at least six to twelve inches beyond the outermost edge of visible rot. After making the cuts, probe the exposed cut face of the remaining board before fastening anything. If the wood at the cut face still yields under light pressure, move the cut further back. The margin is a starting point, not a guarantee of clean wood. (Source: mygutterdoctor.com/fascia-board-repair)
When rot has spread along most of a board’s length, or when the board has lost dimensional integrity and no longer holds fasteners properly, full replacement is the correct approach. This requires gutter removal first. The old board comes off by cutting caulk lines with a utility knife, working a painter’s tool gently into the seam, and pulling nails with a cat’s paw rather than hammering the board off from behind, which can damage adjacent soffit and trim. (Source: thehonestcarpenter.com)
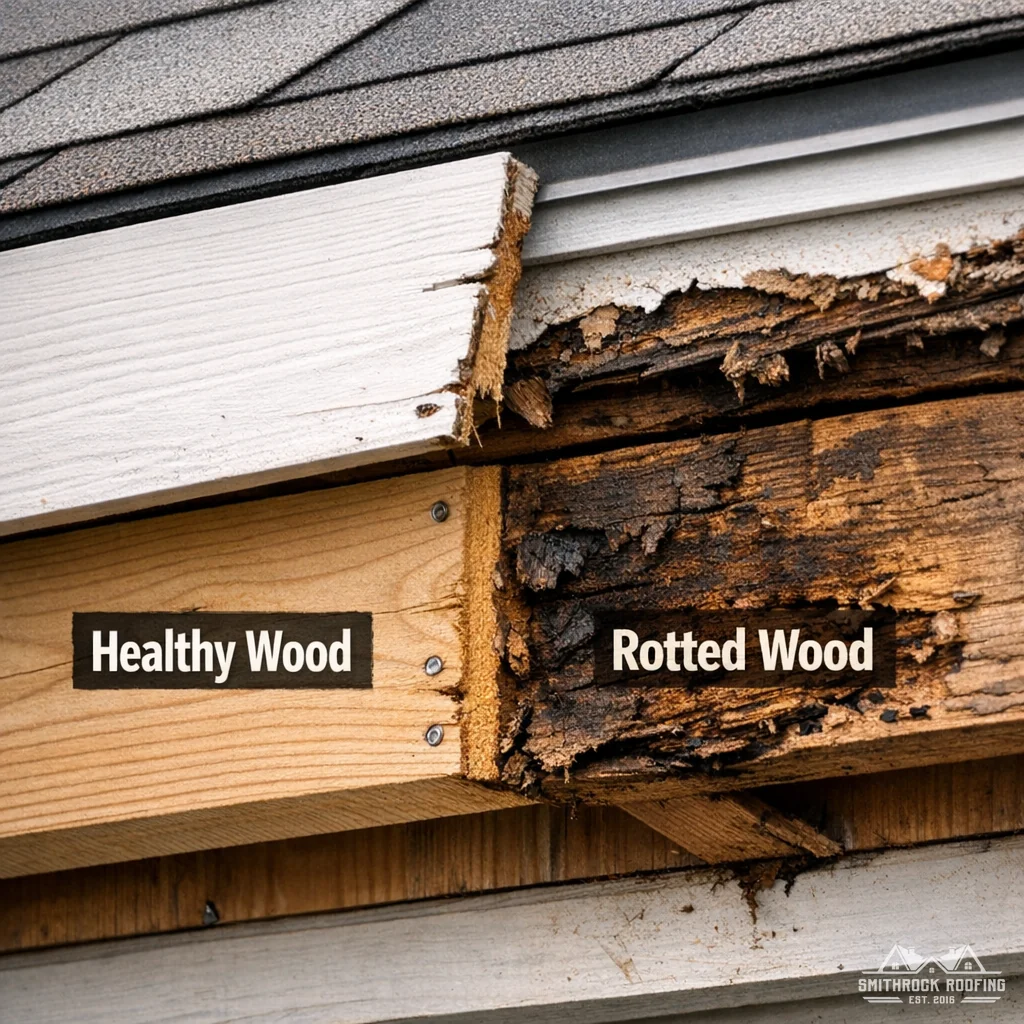
Illustration, not a photograph of a completed client project.
Removing a fascia board sometimes reveals that decay has reached the sub-fascia or the rafter tails behind it. This changes the repair entirely.
Sub-fascia rot and rafter tail rot are structural problems, not finish carpentry problems. Rafter tails carry roof load. When that wood is compromised, the repair involves framing work that affects the structural integrity of the roof edge. At this point, continuing without professional assessment creates real safety risk. For a broader look at what this type of damage involves and how to approach it correctly, our article on fascia and soffit repair covers the full scope of these overlapping issues.
The practical guidance here is simple: if the framing lumber you expose when you pull a fascia board is soft, discolored, or yields to probe pressure anywhere along its length, stop and have a qualified contractor assess the extent of the damage before proceeding. The fascia board itself is the finish layer. What is behind it is the structure that everything else depends on.
Wood is the traditional fascia material and remains common, but PVC and fiber cement options resist moisture and fungal decay in ways that wood does not. For homeowners who have dealt with recurring fascia rot, a material upgrade at replacement time is worth discussing with your contractor. Any new material, including wood alternatives, still requires proper drip edge installation and gutter alignment to perform well over time. Homeowners considering roofing in Clemmons who face this decision can factor local climate and maintenance expectations into the material choice as well.
Paint does not arrest rot. Fungal decay spreads through the wood’s cellular structure regardless of what covers the surface. Painting over a rotted board seals moisture into the wood rather than out of it and accelerates the decay beneath the surface. If probe testing confirms rot, the correct response is repair or replacement, not a paint layer that hides the problem until it is considerably worse.
Soffit rot often follows fascia rot because the same water source that saturated the fascia typically reaches the soffit panel through the same pathway. After removing the fascia board, visually inspect the soffit from below and probe along the inner edge where it meets the framing. Soft spots, discoloration, or visible sagging in the soffit panel are all indicators that the damage has extended beyond the fascia. If the framing lumber behind either surface yields to probe pressure, the assessment has moved into structural territory and requires a qualified contractor before any finish work continues.
PVC and fiber cement fascia materials do not absorb moisture the way wood does, which removes the primary condition fungal decay requires to establish itself. Wood fascia that is perfectly installed, properly primed on all six sides including cut ends, and kept sealed at all seams can perform well, but it depends on that maintenance being sustained. PVC eliminates the moisture absorption problem at the material level, though it still requires correct drip edge installation and gutter alignment to avoid the same water contact patterns that rotted the original board. The material choice matters less than correcting the water source that caused the original failure.
Visual inspection from ground level is not a reliable way to assess fascia condition. Surface paint can mask significant decay underneath, and the rot pattern often begins at the back face of the board, the side that contacts the sub-fascia framing, where it is not visible at all from the exterior. If your gutters are pulling away from the roofline, if you notice paint peeling at the roofline, or if your gutters overflow consistently at the same location, those are reasons to get closer and probe the board even when it looks intact from the driveway.
Rotted fascia board repair is a layered problem. The board itself is the visible part, but the work that determines whether the repair lasts is the work done before the new board goes up: identifying the water source, correcting gutter pitch and alignment, verifying the condition of the framing behind the fascia, and choosing cut margins that account for how far fungal decay actually travels ahead of what is visible. A board that is replaced without addressing those conditions will fail by the same mechanism on the same timeline.
The decision guide at the top of this article is a starting point, not a substitute for hands-on assessment. Surface discoloration and structural rot look similar from a distance. The probe test, the cut-face inspection, and the examination of what lies behind the fascia are the steps that determine what category of repair you are actually dealing with, and whether that repair is still within the scope of a careful DIY project or has crossed into framing work that requires professional evaluation.
If your assessment reveals anything beyond sound wood at the cut face or behind the fascia board, that is the point to stop and get qualified eyes on the structure before proceeding.

Smithrock Roofing © Copyright 2026 • All Rights Reserved • Privacy Policy • Maintained by Mongoose Digital Marketing