
Most gutter replacement articles follow the same script: gutters are sagging, water is pooling near your foundationcall a contractor. That advice isn’t wrong, it’s just incomplete. What’s missing is everything a professional actually thinks about before a single bracket gets screwed into your fascia board.
Gutters are not a product you swap out. They’re a water management system, and every decision in the process, profile size, material, hanger type, downspout placement, slope, either works together to protect your home or quietly sets you up for the same problems you started with.
At Smithrock Roofing, we’ve replaced enough gutter systems across the NC Triad to know where things go wrong, and most of the time, it starts before installation even begins. This guide is built to give you the honest picture: the physics behind why systems fail, the engineering logic behind sizing and drainage, and the specific questions worth asking any contractor before you sign anything.
Before any conversation about gutter style or material makes sense, there’s a structural reality that needs to be addressed, and that most contractors either overlook or quietly work around.
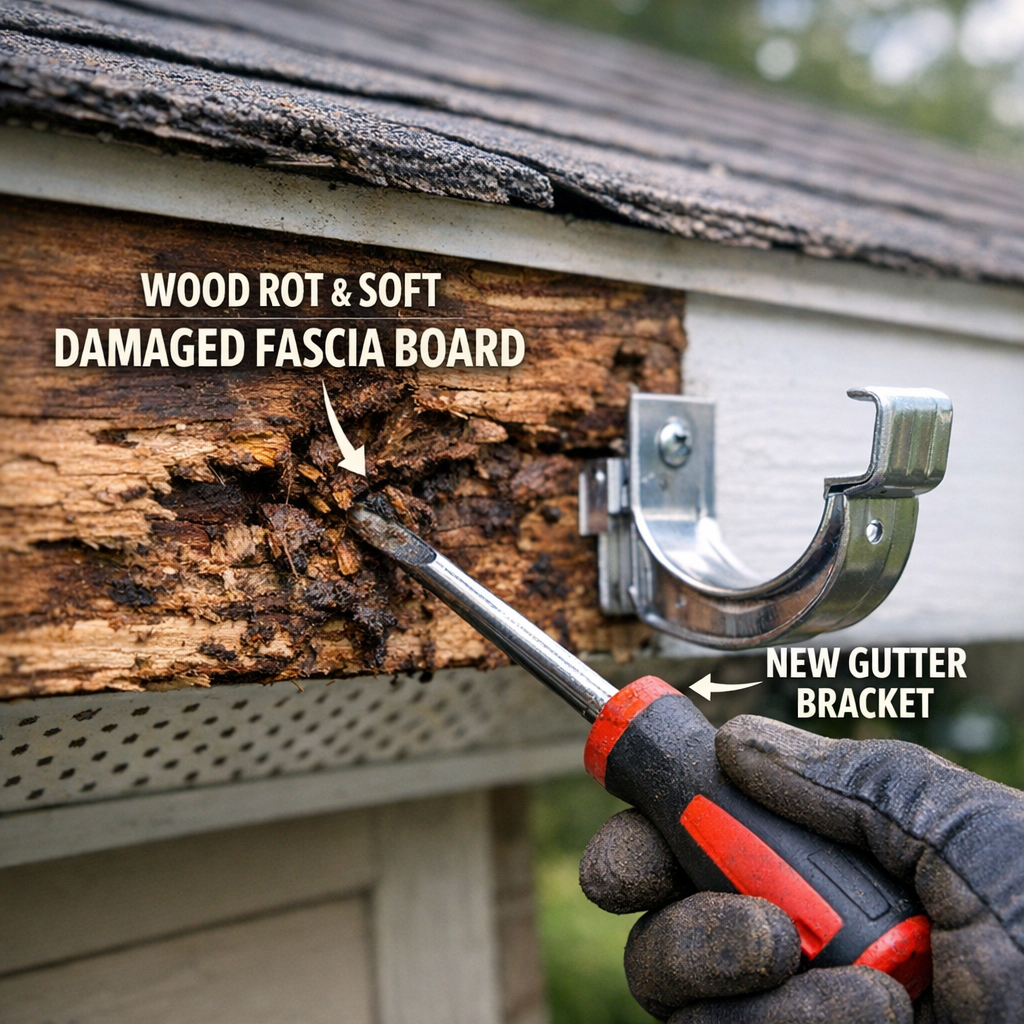
Your gutters don’t attach to your roof. They attach to your fascia boards, the horizontal trim running along your roofline’s edge. When fascia is compromised, new gutters have no solid foundation to hold onto. Hangers pull away from soft wood. Pitch alignment shifts. Water infiltrates behind the gutter channel. The installation looks fine on day one and starts failing within a season or two.
The frustrating part is that fascia damage is often hidden. A painted surface can look perfectly sound while the wood underneath is soft and spongy from years of moisture exposure.
Here’s a simple way to check before you get a single quote:
The Screwdriver Probe Test
Take a flathead screwdriver and press it firmly into the fascia board directly above where your gutters sit. Sound, healthy wood will resist the pressure. If the tip sinks in with little resistance, or if the surface feels spongy when you press with your thumb, the board has water damage.
There’s an important distinction to understand here, though:
A contractor who installs gutters without assessing fascia first is either cutting corners or genuinely unaware of the problem. Either way, it costs you. The right sequence is: inspect and repair the fascia, then install the gutters. In that order, every time. If you want a deeper look at what this repair process involves, the article on DIY fascia and soffit repair covers what to expect before new gutters go up.
Need a hand with this in Winston-Salem, Greensboro and the NC Triad? Call (336) 971-0464 or request a free estimate. Honest answers, no pressure.
Once you know the fascia is solid, the next question is what size and configuration the system actually needs, and this is where real engineering separates a durable installation from a generic one.
Every square foot of your roof surface collects rainwater and channels it toward your gutters. That sounds obvious, but the implications are more specific than most homeowners realize.
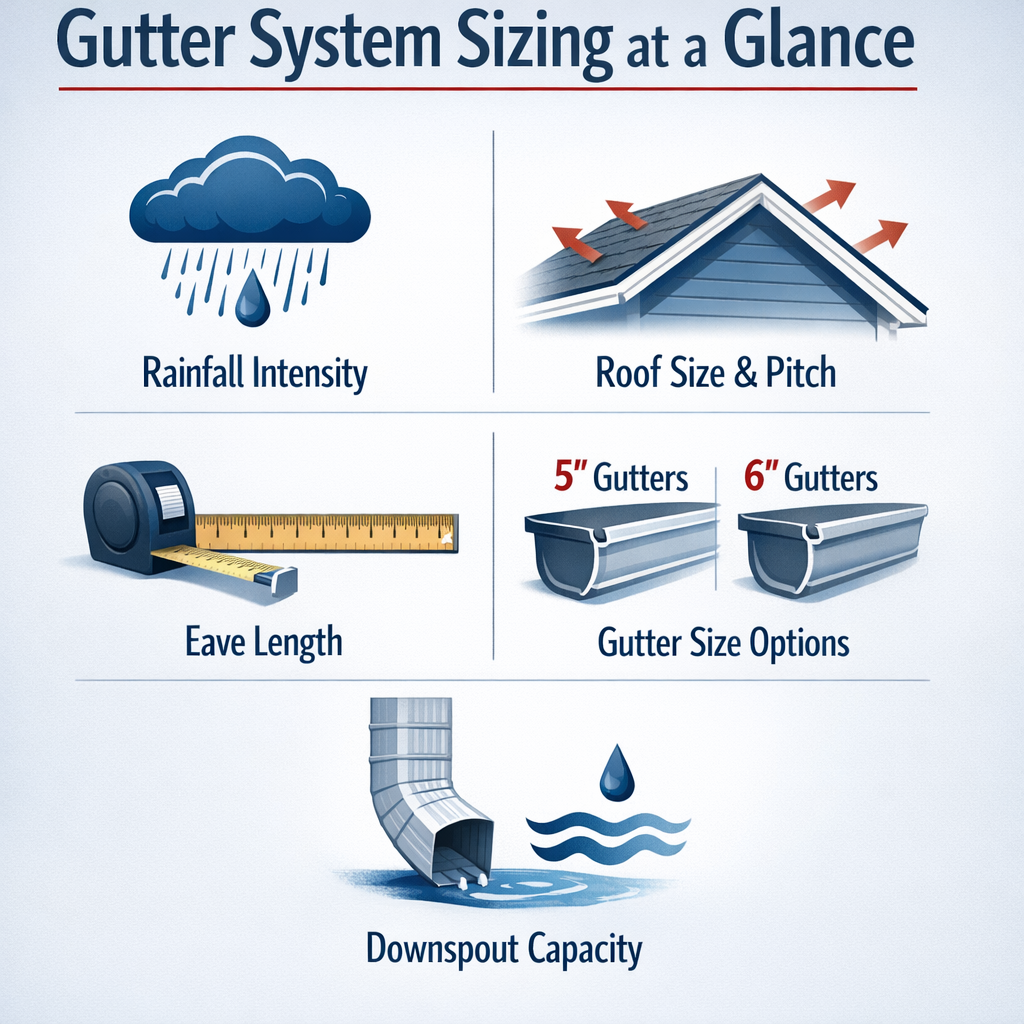
The actual volume of water your gutters must handle is determined by two factors working together:
A 4/12 pitch roof (a gentle slope) carries a pitch multiplier of roughly 1.05. A steep 12/12 pitch carries a multiplier closer to 1.41. Run the same size gutters on both roofs and the steeper one will be handling almost 35% more flow volume, a meaningful difference during a heavy rainfall event.
This is why properly sizing a gutter system isn’t a one-number answer. It’s a calculation.
K-style gutters are the most common residential profile in the US, and they come in two standard widths that don’t get nearly enough attention in most gutter conversations.
| Factor | 5-Inch K-Style | 6-Inch K-Style |
|---|---|---|
| Standard water capacity | ~1.2 gallons per linear foot | ~2.0 gallons per linear foot |
| Typical roof drainage area | Up to ~5,500 sq ft | Up to ~7,960 sq ft |
| Recommended rainfall intensity | Moderate (under 4″/hour) | High-intensity or steep-pitch roofs |
| Common application | Most standard residential roofs | Larger homes, steep pitches, complex rooflines |
| Downspout pairing | Typically 2″×3″ or 3″×4″ | Typically 3″×4″ or 4″×5″ |
| Profile visibility from street | Lower profile, less dominant | Slightly more visible, better suited to larger eaves |
The practical takeaway: if you have a large roof footprint, a steep pitch, or you live in an area with intense summer rainstorms, and the NC Triad gets plenty of those, a 5-inch system may be undersized for your home even if it’s what the previous installation used.
Most contractors frame this as an aesthetic choice. It’s also a functional one.
K-style gutters hold roughly 40% more water volume than half-round gutters of the same nominal width. A 5-inch K-style gutter and a 5-inch half-round gutter are not hydraulically equivalent. For high-rainfall applications, this matters.
Half-round gutters do have a place, they’re the appropriate choice for historic or traditional architectural profiles, and they’re easier to clean because debris doesn’t collect in the corners the way it can in K-style channels. But choosing half-round on a high-volume drainage situation without compensating through sizing or additional downspouts is a trade-off worth understanding before you make it.
Getting the gutter channel right is only half the equation. Downspouts determine how fast water actually leaves the system, and undersized or under-placed downspouts create backpressure that overwhelms even a well-sized gutter channel.
The industry standard starting point is one downspout per 30 to 40 linear feet of gutter run. In practice, this rule is a baseline, not a formula, and several conditions push the math in a different direction:
Most contractor sites say seamless gutters are better because they leak less. That’s accurate, but the reason why sectional gutters leak is worth understanding, because it tells you exactly what to ask about when evaluating any installation.
Aluminum, the most common residential gutter material, expands and contracts with temperature changes. The rate is approximately 1 inch per 100 feet for every 100°F of temperature swing.
A 40-foot sectional aluminum gutter run in a climate that swings from 20°F in winter to 95°F in summer is experiencing roughly 75°F of seasonal range. That’s movement. Every time that run expands and contracts, the sealant at each sectional joint is being stressed. The sealant doesn’t fail because it was applied poorly. It fails because thermal mechanics are working against it every single season.
Seamless gutters are formed from a single continuous piece of aluminum, eliminating those stress points entirely. But seamless systems still have to manage thermal movement, they do it through expansion jointswhich are deliberately designed flexible sections placed at intervals by the installer to absorb movement without transferring stress to the brackets or the fascia attachment points.
If a contractor is installing seamless gutters on a long run and isn’t discussing expansion joint placement, that’s a question worth raising directly.
| Material | Thermal Expansion Rate | Expected Lifespan | Best Climate Application | Notable Trade-offs |
|---|---|---|---|---|
| Aluminum (standard) | ~1″/100 ft per 100°F | 20–30 years | Most climates, including hot/humid South | Can dent; prone to joint stress in sectional form |
| Aluminum (seamless) | Same as above | 25–35+ years | Broad application; most common professional choice | Requires professional installation equipment |
| Vinyl | ~3″/100 ft per 100°F | 10–20 years | Mild climates only | Three times the expansion rate of aluminum; becomes brittle in extreme cold; not recommended for NC winters |
| Galvanized Steel | Low | 20–30 years | High-debris environments | Susceptible to rust at cut edges; heavier; less common in residential |
| Copper | Very low | 50–100 years | Historic architecture; high-end residential | Premium material cost; develops natural patina; not appropriate for all architectural styles |
| Zinc | Low | 40–50 years | European architectural traditions | Rarely stocked in US residential supply chains |
The honest summary for most NC Triad homeowners: seamless aluminum is the right answer for the vast majority of residential applications, it balances longevity, performance in our climate, and availability. Copper is architecturally appropriate for specific traditional homes and is a legitimate long-term investment, not simply a luxury upsell. Vinyl is a cost-driven choice that shows its limitations in climates that see real winters.
Gutter hangers are the connectors that hold the entire system to your home. This is one of the most consequential installation variables in the entire process, and one that rarely comes up in a contractor conversation unless you bring it up yourself.
Spike-and-ferrule hangers are the older method. A long nail (spike) is driven through the front of the gutter, through a cylindrical spacer (ferrule), and into the fascia board. They’re fast to install and still common in budget work.
The problem is physics: spikes rely entirely on friction to stay in the wood. Freeze-thaw cycles, gutter weight during heavy rain events, and simple seasonal wood movement all work against that friction over time. Spike-and-ferrule hangers pull out, slowly and gradually, but reliably. As they back out, the gutter tilts forward, slope alignment changes, water pools, and the gaps created allow water intrusion behind the channel.
Hidden bracket hangers with screws are the professional standard. The bracket sits inside the gutter channel and is driven into the fascia with a screw, not a nail. Screws have dramatically better pull-out resistance than nails, particularly in the softwood species commonly used for fascia. The bracket supports the gutter from inside, distributing load across the full profile width rather than concentrating it at a single nail point.
When evaluating a gutter installation quote, asking “what hanger system do you use?” is a legitimate and specific question. The right answer is hidden bracket hangers with screws at 18-to-24-inch intervals. Anything less is a compromise worth understanding before you agree to it.
Standard hanger spacing is 18 to 24 inches on center for most residential applications. In regions with significant snow and ice load potential, and parts of the NC Triad do see ice events, tighter spacing (16 inches) provides better resistance against ice accumulation forcing gutters away from the fascia. A full gutter channel of standing water weighs roughly 5.2 pounds per linear foot. Multiply that across a 40-foot run and you’re asking your hanger system to reliably hold over 200 pounds, minimum.
You’ll occasionally see the figure “1/4 inch drop per 10 linear feet” cited as the standard gutter slope. That is a reasonable starting point. It is not a universal answer, and applying it blindly on every run is one of the more common ways an otherwise correct installation underperforms.
The underlying principle is that gutter slope, run length, downspout diameter, and downspout placement are all interconnected variables. Adjusting one affects the others. A genuinely experienced installer treats them as a system, not as a checklist of independent line items.
The distinction typically comes down to how widespread the damage is and whether the underlying causes are localized or systemic. Isolated issues, a single leaking seam, one sagging section, a damaged end cap, are usually candidates for repair. When you’re dealing with gutters that are pulling away from the fascia in multiple locations, visible corrosion or cracking across long runs, persistent overflow despite clear downspouts, or sections that no longer hold a functional slope, replacement is the more reliable path. Patching a system that has reached the end of its service life tends to extend problems rather than resolve them. The Gutter Replacement Guide: Know When & What to Replace walks through the specific signs that separate a repair situation from a full replacement.
Most residential applications use either a five-inch or six-inch K-style profile. The right choice depends on your roof’s square footage, the pitch of your roof planes, and the intensity of rainfall your system needs to handle. Steeper roofs shed water faster and concentrate flow more aggressively at the eaves, which can push a home that might otherwise use five-inch gutters into six-inch territory. Given that the NC Triad receives over 45 inches of rainfall annually with periodic high-intensity summer storms, undersizing is a more common and more costly mistake than oversizing.
Both matter, but installation quality is the variable that creates the most problems in practice. A seamless aluminum gutter installed with correct slope, proper hanger spacing, and appropriately sized downspouts will consistently outperform a premium material that was hung with inadequate support or incorrect pitch. Material selection affects longevity, weight, and maintenance requirements, all meaningful factors, but no material compensates for a system that drains poorly or pulls away from the fascia because the structural connection was made to deteriorated wood.
A professional inspection once a year is a reasonable baseline for most homes. Twice annually, once in late fall after leaf drop and once in early spring, provides better coverage for homes with significant tree canopy overhead. Beyond scheduled inspections, it’s worth doing a visual check after any major storm event, particularly in summer when convective cells can drop large volumes of water quickly. What you’re looking for in a basic self-inspection: gutters holding their slope visually, no standing water visible in the channel after rain has stopped, downspouts discharging freely, and no visible separation at joints or hanger points.
Gutter replacement sits at the intersection of water management, structural attachment, and long-term home performance. The technical details covered throughout this article, material selection, gauge, hanger spacing, slope calculation, downspout sizing, are not points of pedantry. They are the variables that determine whether a new system protects your home for decades or begins causing problems within a few seasons.
Getting those variables right requires experience, local knowledge, and a willingness to treat each installation as a system rather than a collection of independent components.
If you’re ready to take the next step, Contact Us and we’ll schedule a thorough on-site evaluation of your home’s existing gutter system and discuss what a proper replacement looks like for your specific situation.

Smithrock Roofing © Copyright 2026 • All Rights Reserved • Privacy Policy • Maintained by Mongoose Digital Marketing
